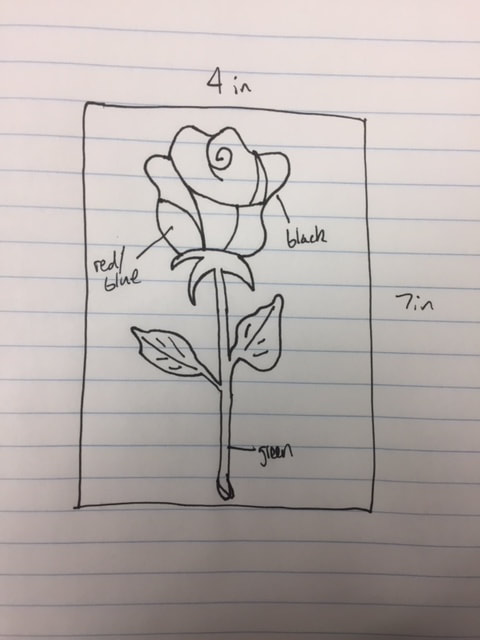
Here is the sketch of the flower vinyl (scale is not correct). I will use the vinyl cutter to make a vinyl of this flower for my notebook!
Designing the flower

I simply created a 4x7in Illustrator file, then uploaded a flower image from Google Images. Then select your image, go to image trace -> expand.
Loading the Vinyl
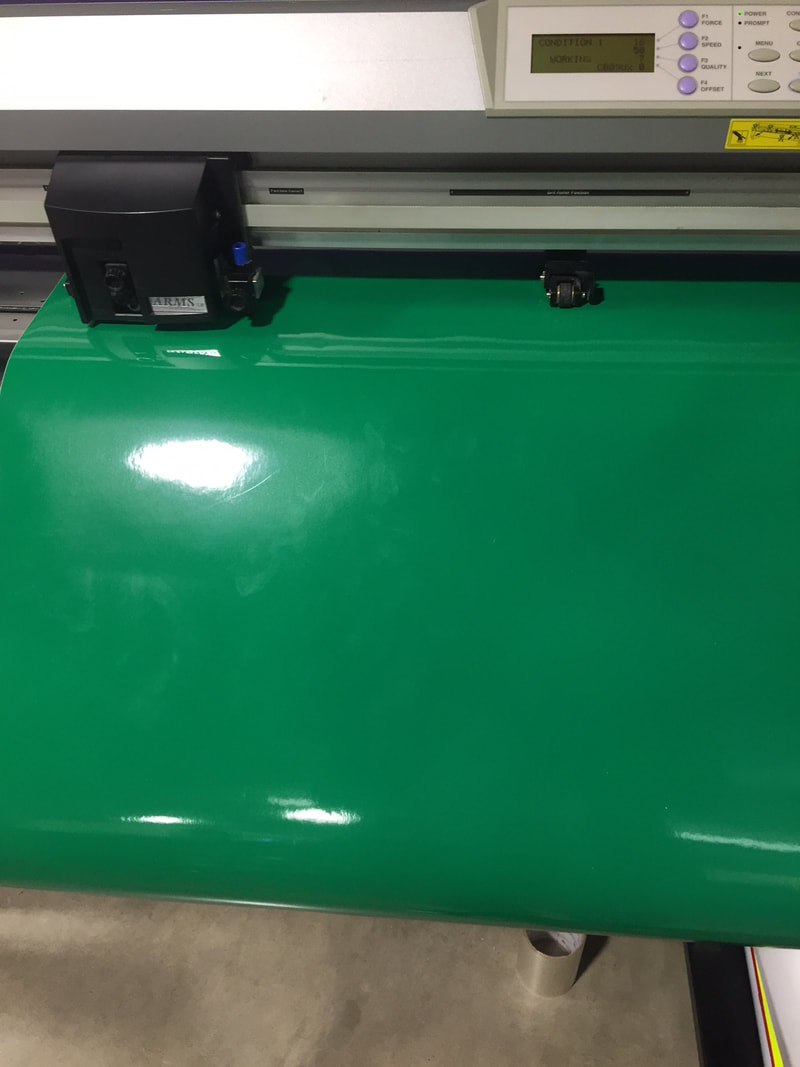
Align one of the black notches on a black patch on the vinyl cutter. Load the vinyl of any color and pull the purple lever in the back right of the machine to secure the vinyl. Press F1, then enter.
Cutting the Vinyl
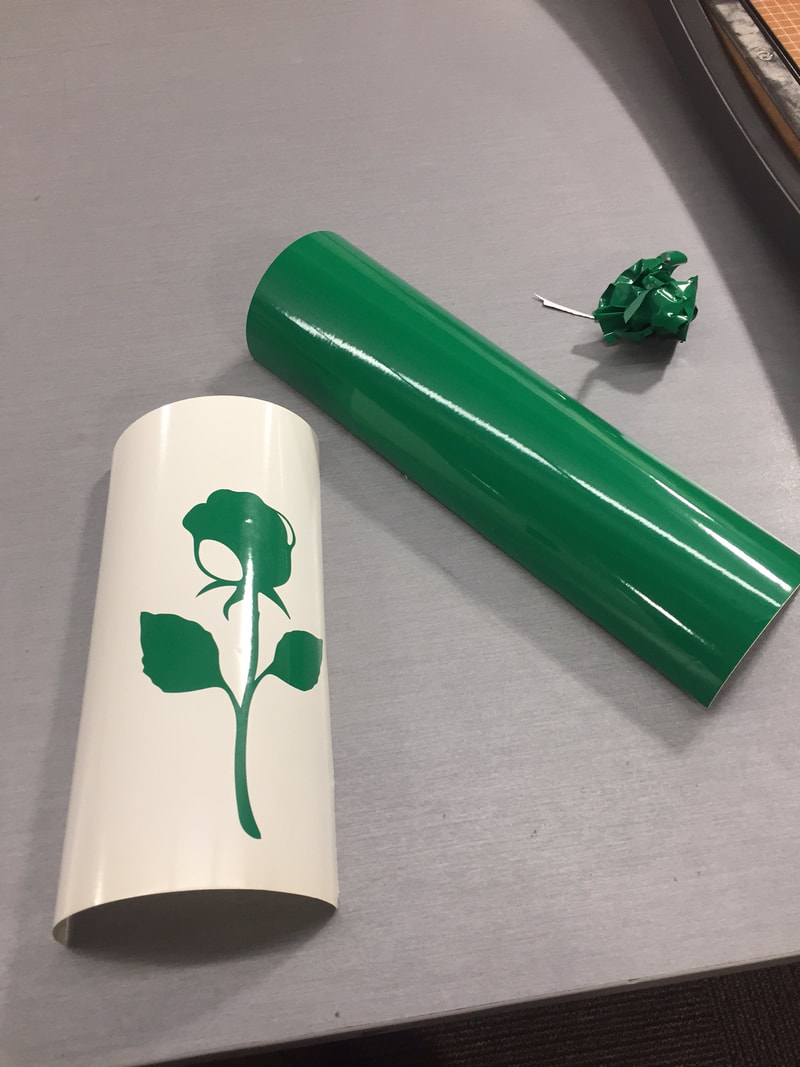
On the computer, go to Cut/Plot, and make sure your settings are correct and press send to cut out your vinyl. Since this vinyl is multiple colors, I printed it in green, red, blue, and black.
Applying the Vinyl
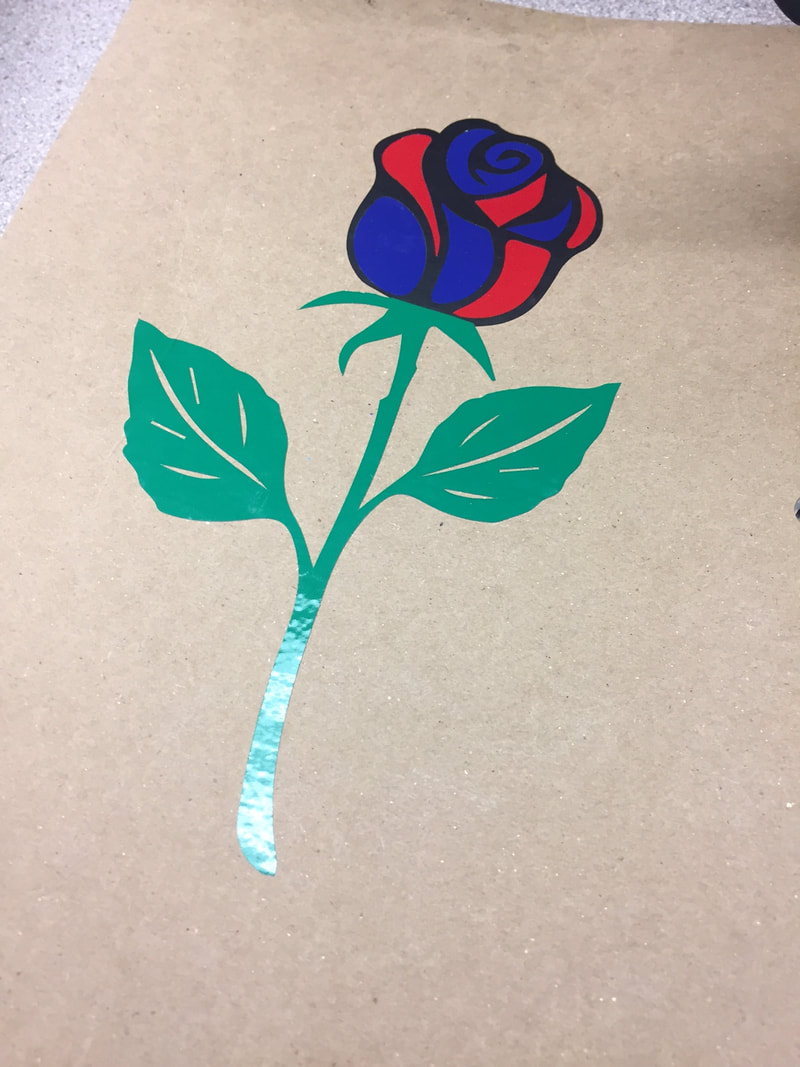
Here is the finished product on my notebook! All I had to do was peel and cut the vinyl, put it on application tape, then transfer it to my notebook and remove the application tape.
What Have I learned?
With the vinyl cutter, almost anything is customizable. Since last time I used it, I learned how to incorporate multiple colors, as well as being able to use the vinyl cutter more effectively and efficiently.
