
Here is the rough sketch I made of the phone case design. I wanted to include every hole so I am actually able to use this phone case.
Designing the phone case
To build this phone case, I used the dimensions of my phone. To properly fit the phone, I added .2 inches on each side. The phone case is 5.68 x 2.83 inches. Here is the start of the first design I made. I also decided to fillet the top and bottom edges to make it more rounded rather than a rectangular prism.
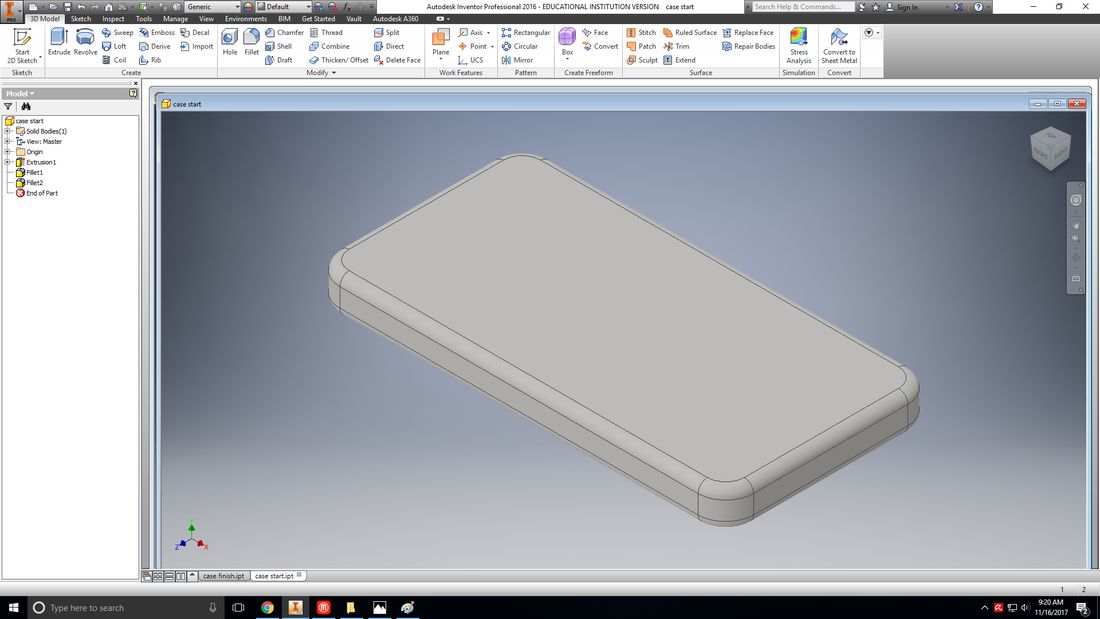
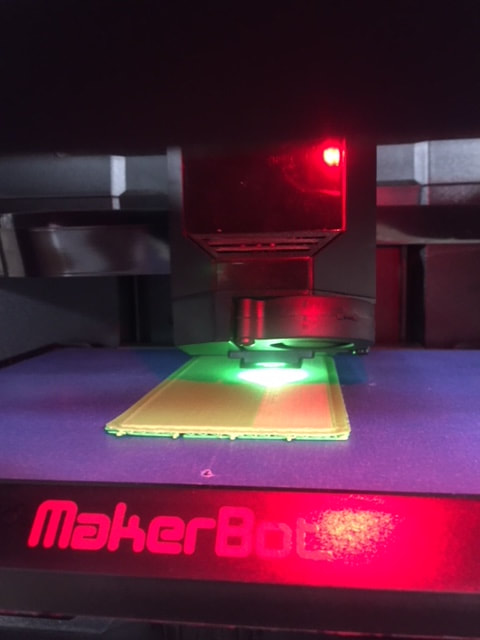
Finishing and printing the first design
There were a couple of flaws to my first design, the first being that I didn't include any cord compatibility! Also the size was slightly too small. To learn how to 3D print items made in Inventor, see my Inventor page.
Designing the Second Phone Case
I measured out the distances between each hole and the dimensions of each hole, they were all around a quarter inch. Here is what the final product looks like on inventor. I also bumped up the size by .15 inches for each dimension.
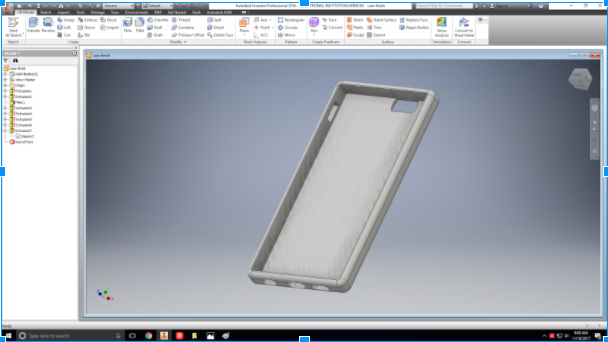
The finished product
I've learned a lot about creating complex items in inventor. I learned how to use several new tools such as the fillet tool. I'm able to create objects much easier than before thanks to designing and printing this phone case. Here is the final product.
