What is Inventor?
Inventor is a powerful 3D-modeling program. With it, we are able to create assemblies, animations, drawings, and shapes. It is a very crucial tool for 3D printing and CNC machines. There are four types of files we can use on Inventor, .ipt, .iam, .idw, and .ipn. Here is a tutorial on how to use additive (or subtractive) methods to create small parts called widgets.
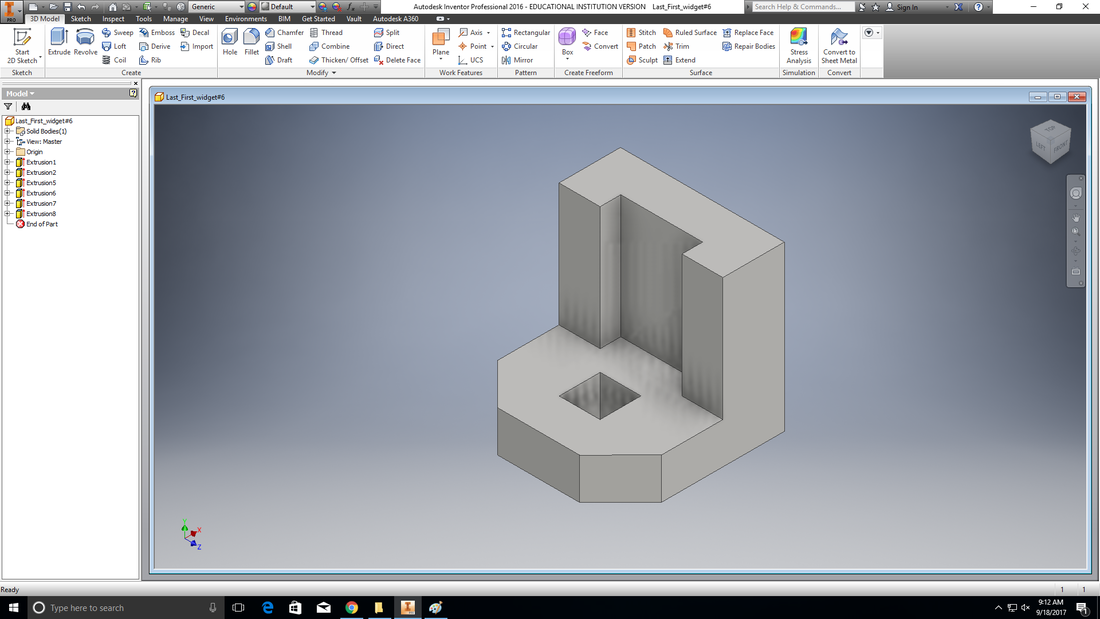
Making a widget tutorial
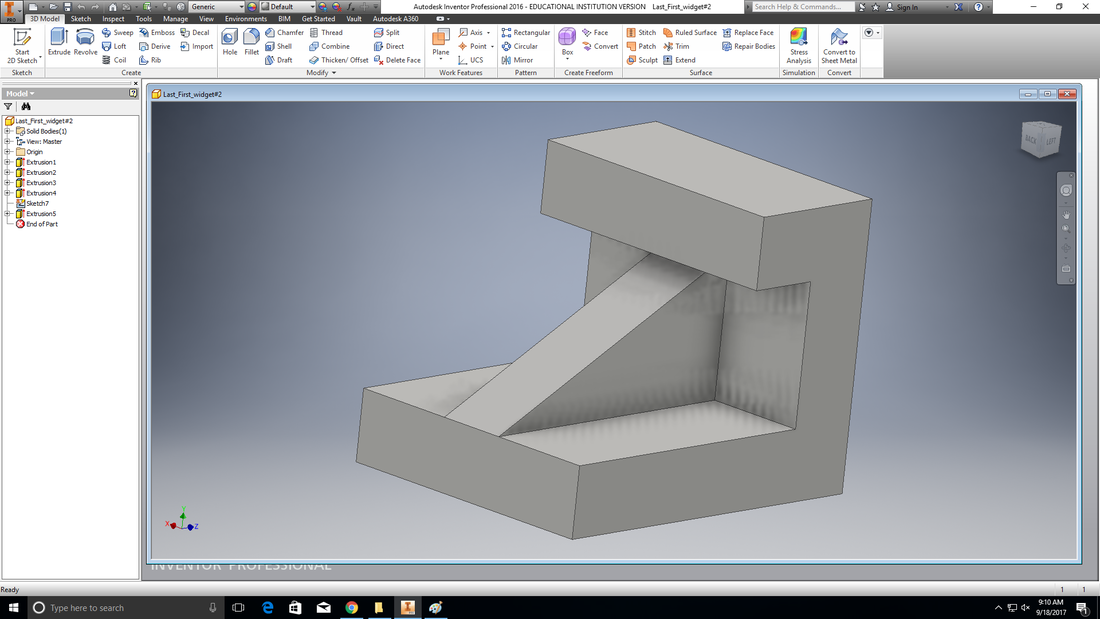
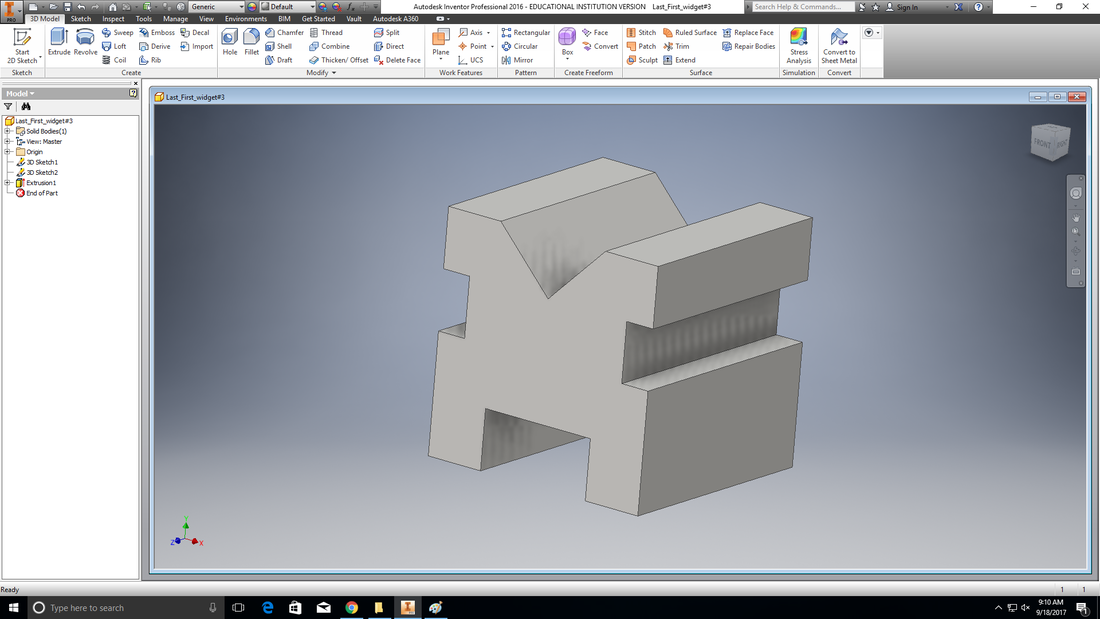
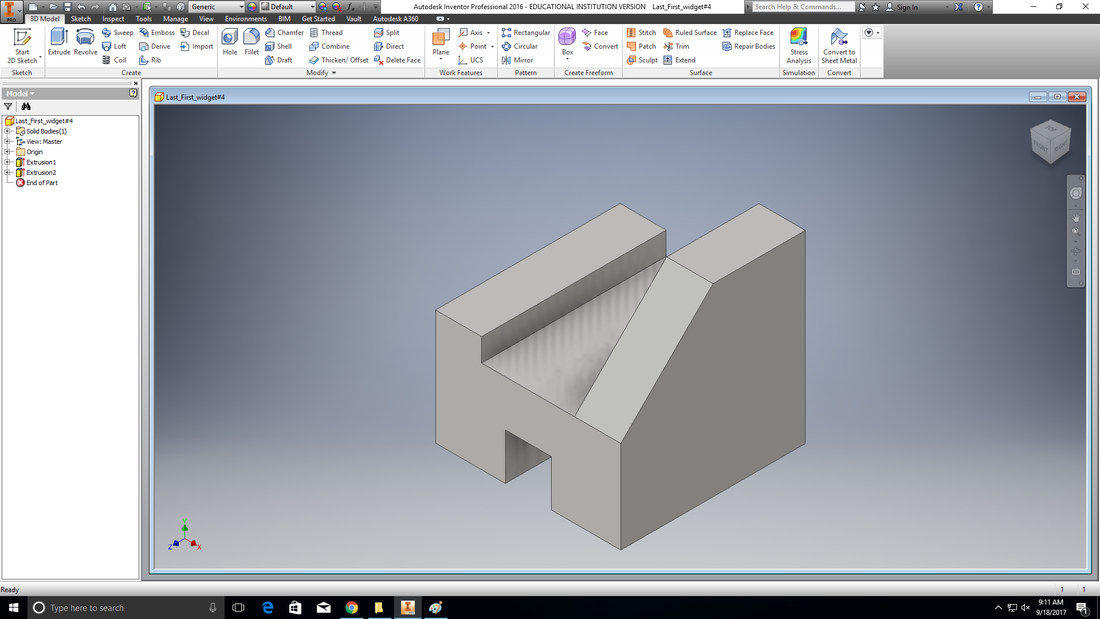
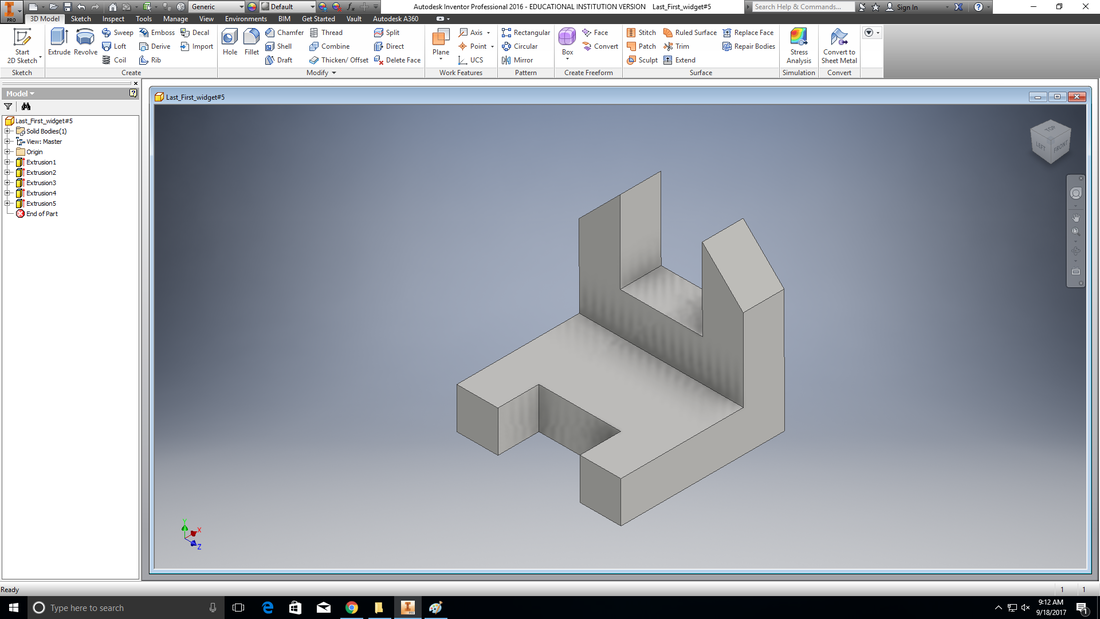
Other Widgets made
3D Printing a Widget
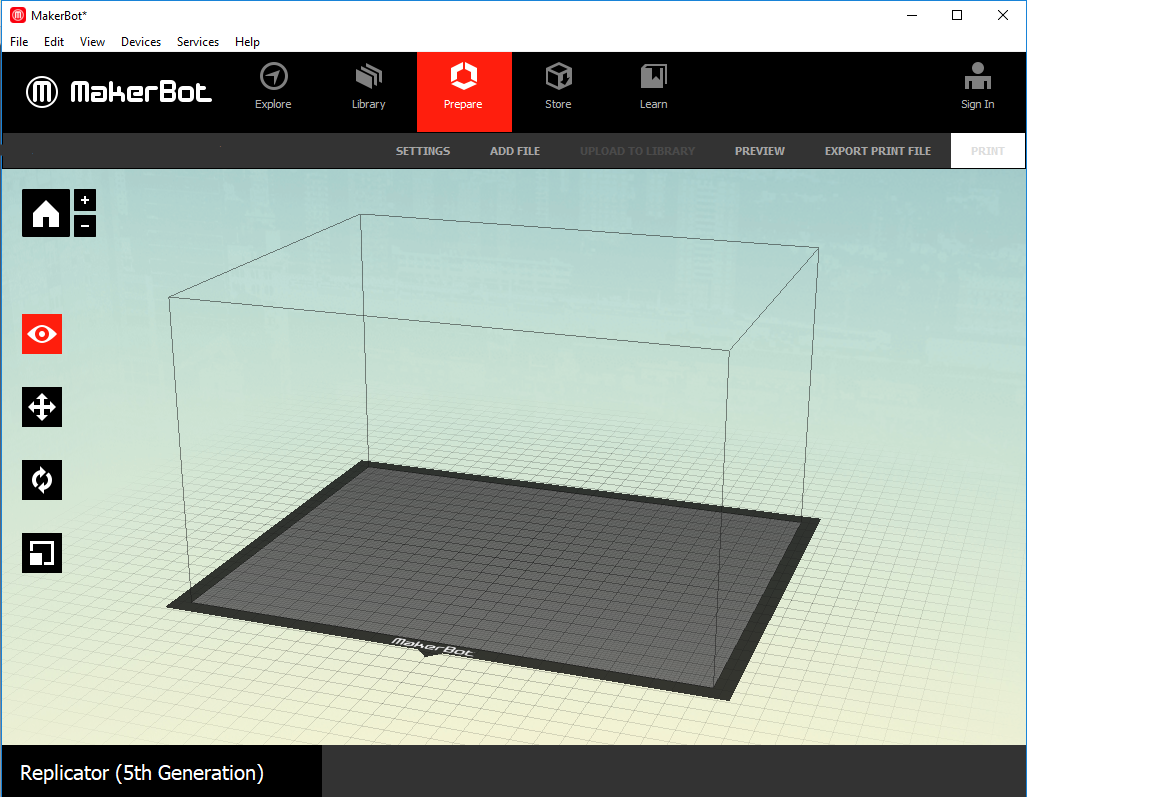
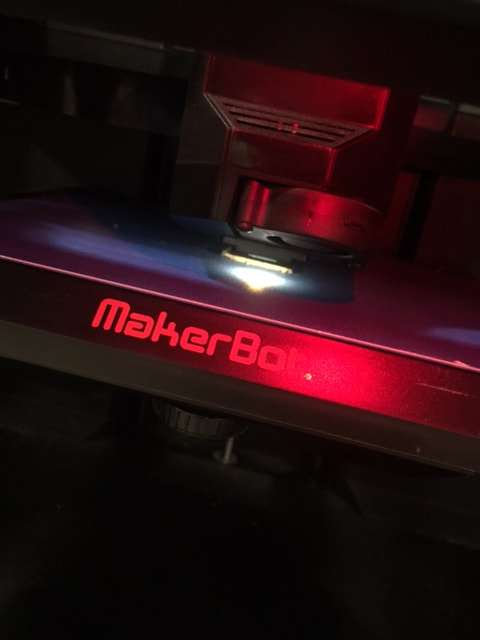
I used MakerBot to 3D print one of the widgets I made. Here is what Makerbot looks like.
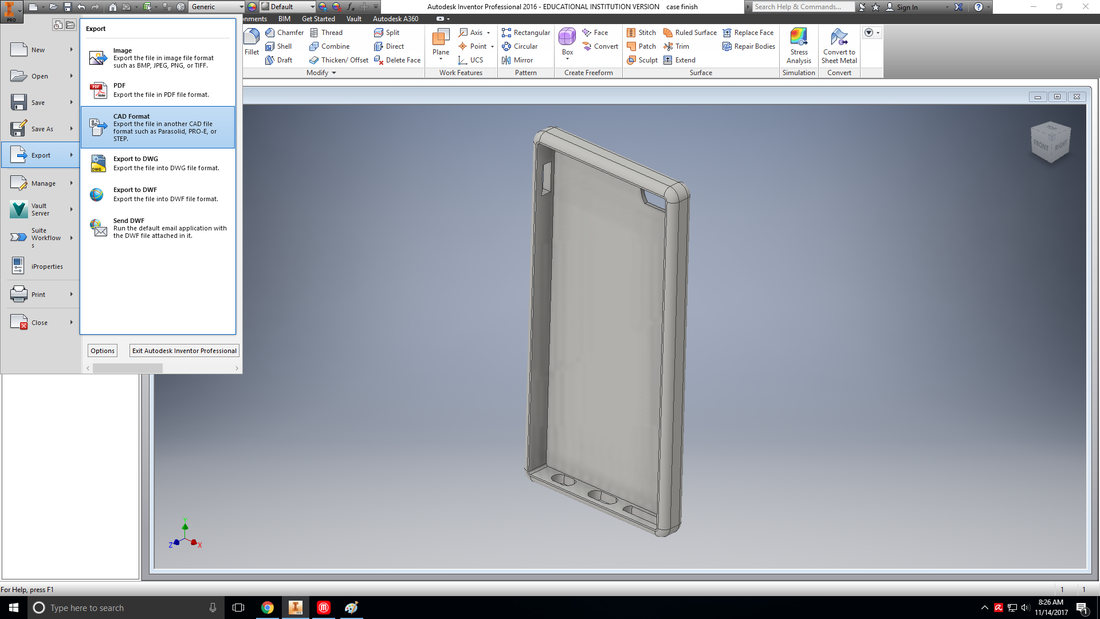
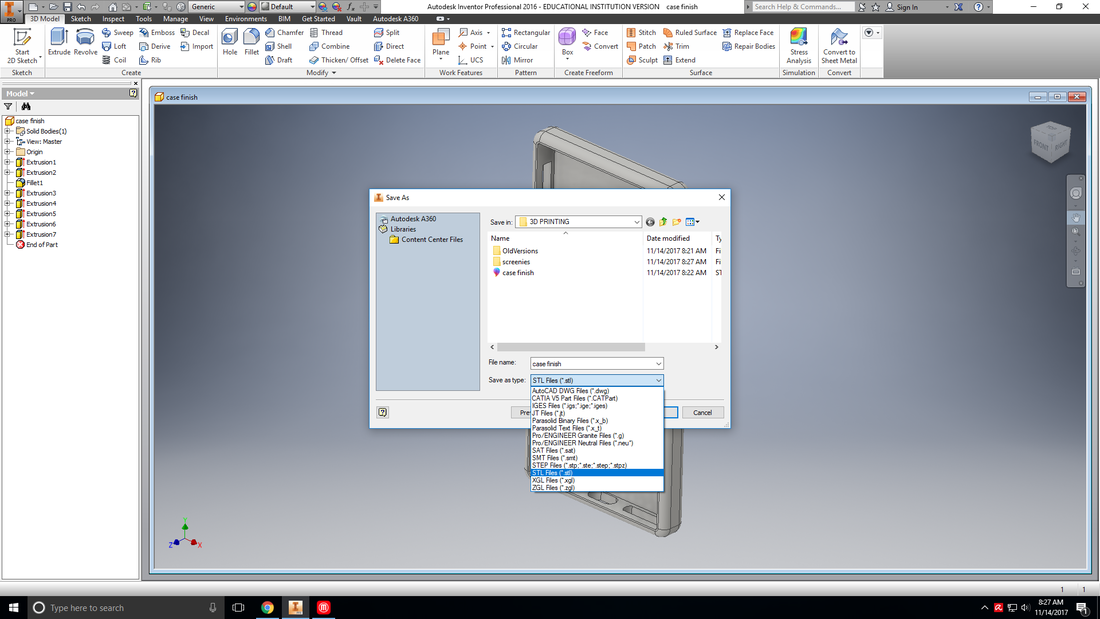
Before you're able to open your Inventor file in MakerBot, you must first convert the file to a STL. To do this, go to file -> export -> AutoCAD format. Then select .stl for file type and save it.
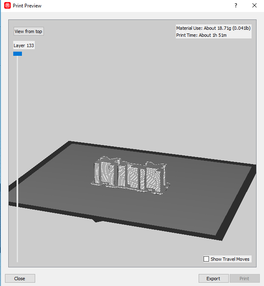
Upload the file and re-scale to desired size. The 3D printer surface is the lighter gray, that is your limitation for the print. Here are images of the process and final result.

What have I leaned?
Throughout my time using Inventor and Makerbot, I learned how to create. It's possible to now 3D print any kind of shape. I also began my knowledge of advanced computer software, I can effectively identify how to use parts of these softwares. Overall this project has been an educational experience and I have learned a good baseline for the rest of my exploration.
